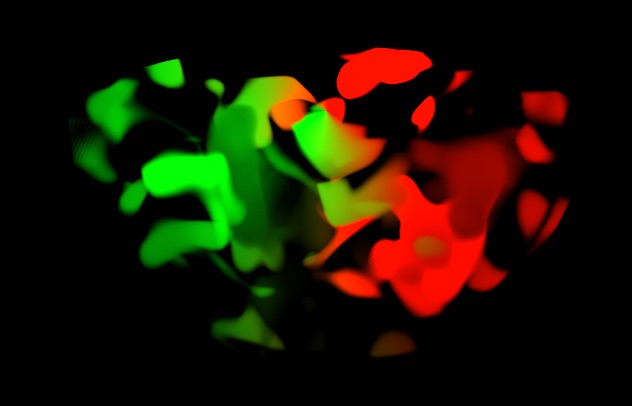
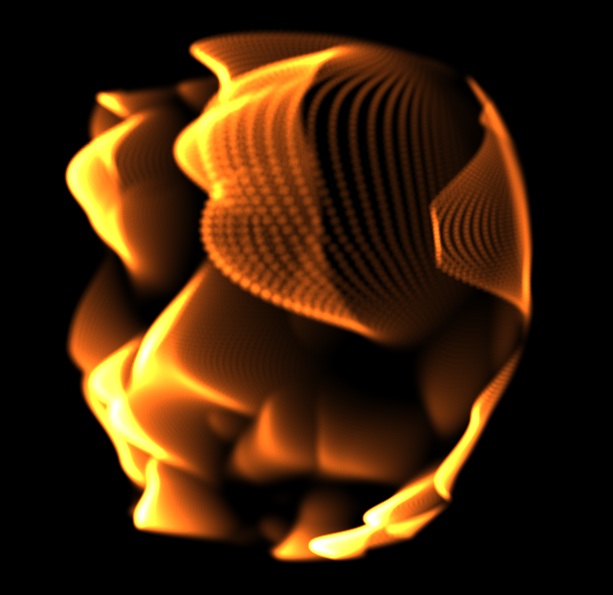
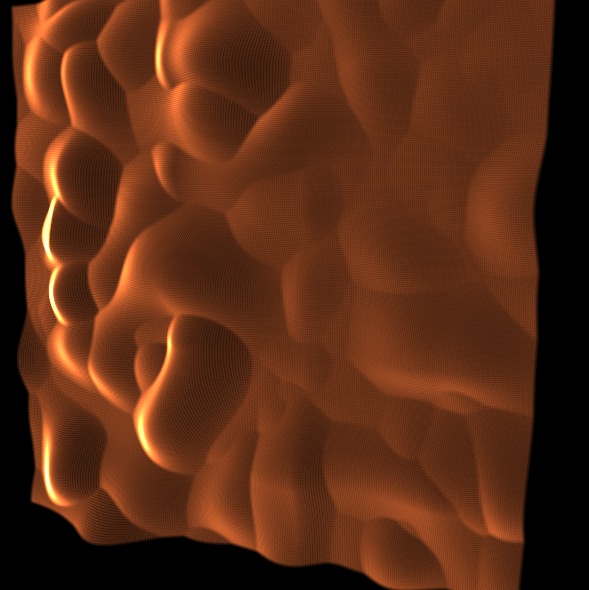
Finally making some progress, using new Vray 1.2 It's possible to use proxies with mograph thus allowing vast numbers of polygon objects to be rendered. Image below is made up of thousands of transparent spheres, thus creating a volumetric effect like fire where each sphere is additive so when they clump or overlap it becomes brighter shifting the color up thru the hues to the point of white, which is how light behaves opposed to say paint where it gets darker as you add things.


You can render it using an unbiased light cache method too which actually works pretty fast considering, and gives it a more noisy/stochastic kinda look which smooths out the longer you render (like maxwell render)
Getting it to balance memory and cpu cores was a bit tricky, default render settings tend to lock up and not use multi cores properly when geometry is this dense. Also it seems when polygons overlap exactly as they often do in these cases the renderer locks up focusses on one thread/core hanging all the others and then eventually pushes thru. Tweaking render settings seems to have removed this issue or at least made it less apparent keeping all cores at 100%
In any case it renders fairly fast now compared to previous efforts, though It's still devastatingly slow for animation.
Lots of balls
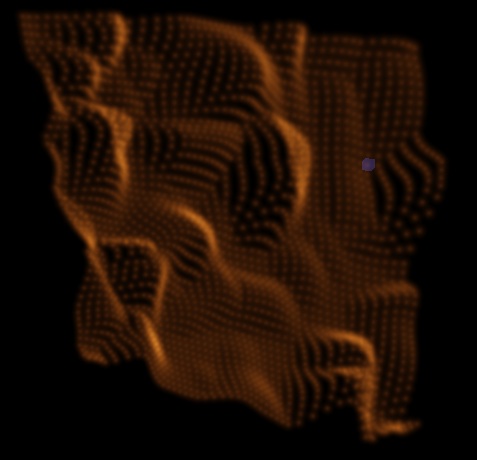
And cubes
You can render it using an unbiased light cache method too which actually works pretty fast considering, and gives it a more noisy/stochastic kinda look which smooths out the longer you render (like maxwell render)
Getting it to balance memory and cpu cores was a bit tricky, default render settings tend to lock up and not use multi cores properly when geometry is this dense. Also it seems when polygons overlap exactly as they often do in these cases the renderer locks up focusses on one thread/core hanging all the others and then eventually pushes thru. Tweaking render settings seems to have removed this issue or at least made it less apparent keeping all cores at 100%
In any case it renders fairly fast now compared to previous efforts, though It's still devastatingly slow for animation.
Lots of balls
:-)
And cubes
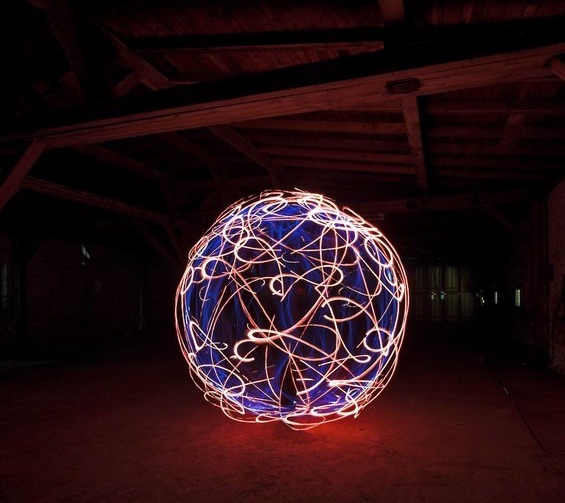
This looks like what I've been trying to create with particles, someone beat me to it with glass!
Link: www.colourlovers.com --- bending-light-color-with-alan-jaras

Link: www.flickr.com --- set-72057594061844447

Link: www.flickr.com --- 72157594422498771
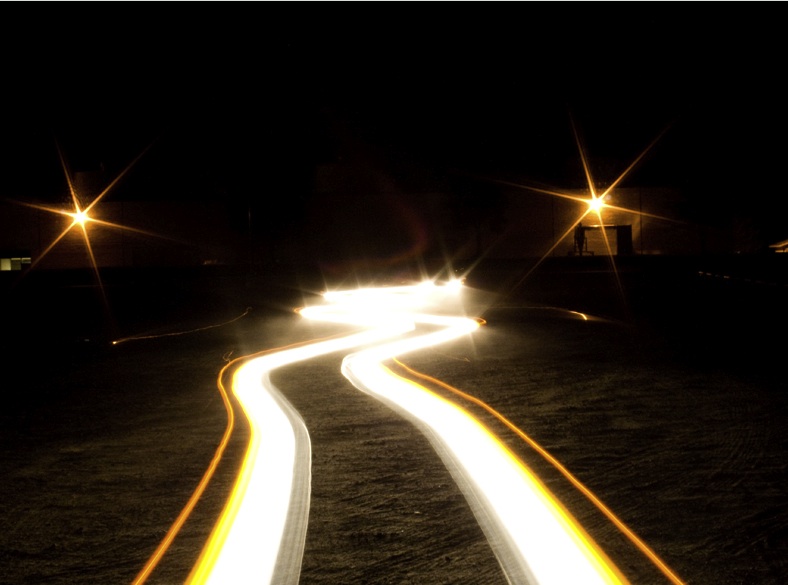
And someone else having a go at 'painting with light'
Link: www.lapp-pro.de
Link: 2photo.ru --- jeksperimenty_so_svetom_lapp__light_art_performance_photography
Link: captainmarsh.deviantart.com --- light-trails-100007866
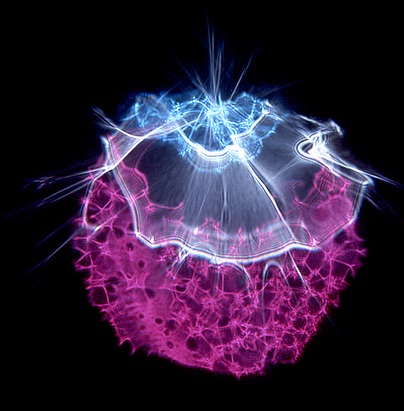
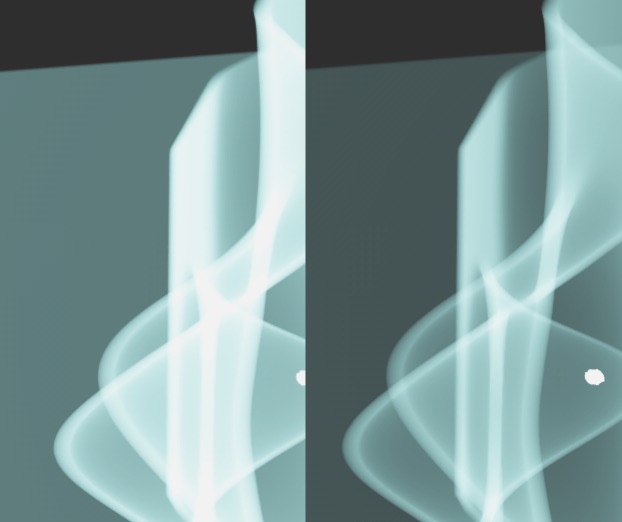
What I'm trying to do with volume renderings draws many parallels with xray photography too in terms of the aesthetic look.
Xray photography has this interesting way of turning normal objects into vector like, stylistic representations, Objects look like they are made from light:
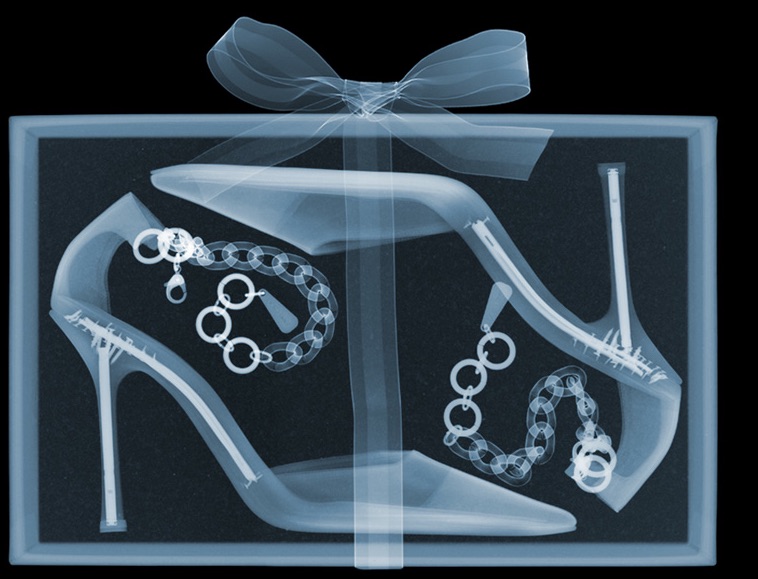
Link: www.nickveasey.com
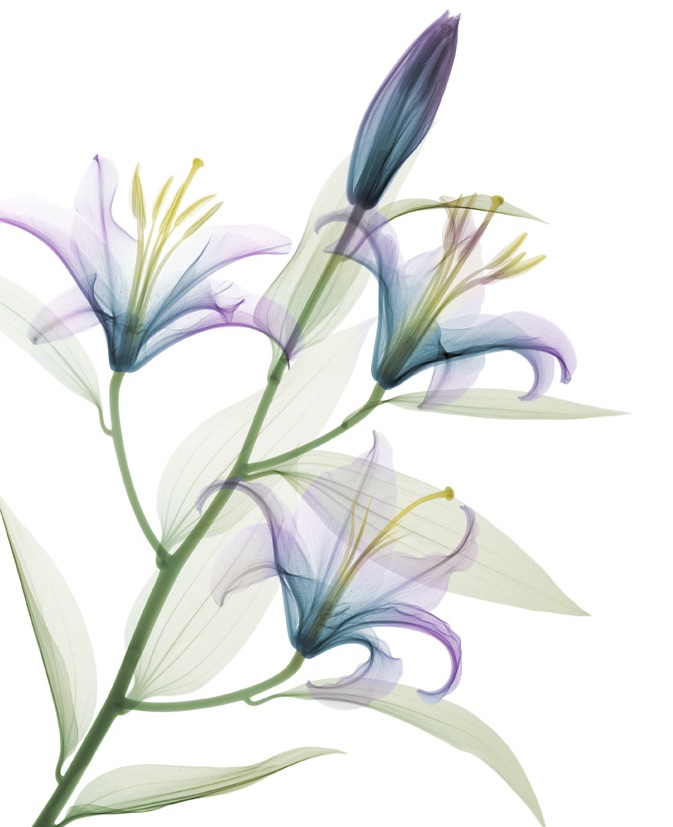
Link: www.nickveasey.com
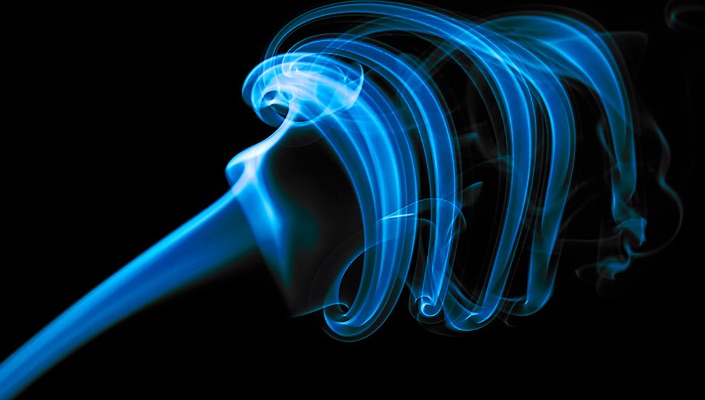
Smoke Photography
Link: photocritic.org --- artsmoke-photographing-smoke
Link: www.flickr.com --- artsmoke
Link: www.sensitivelight.com
Link: www.flickr.com --- 72057594095776648
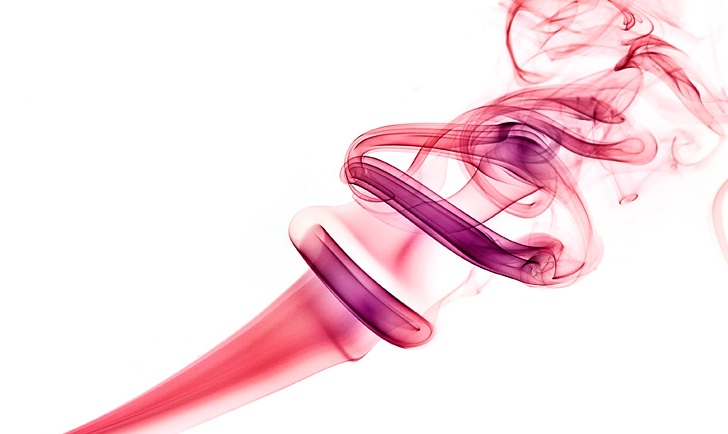
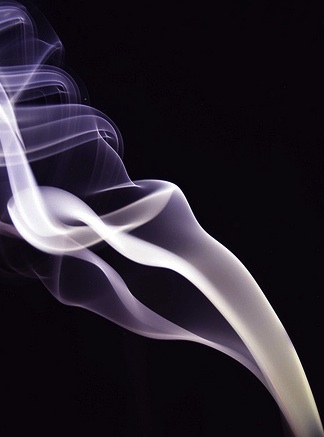
I had done something like this many years ago but had until just, completely forgotten about the technique
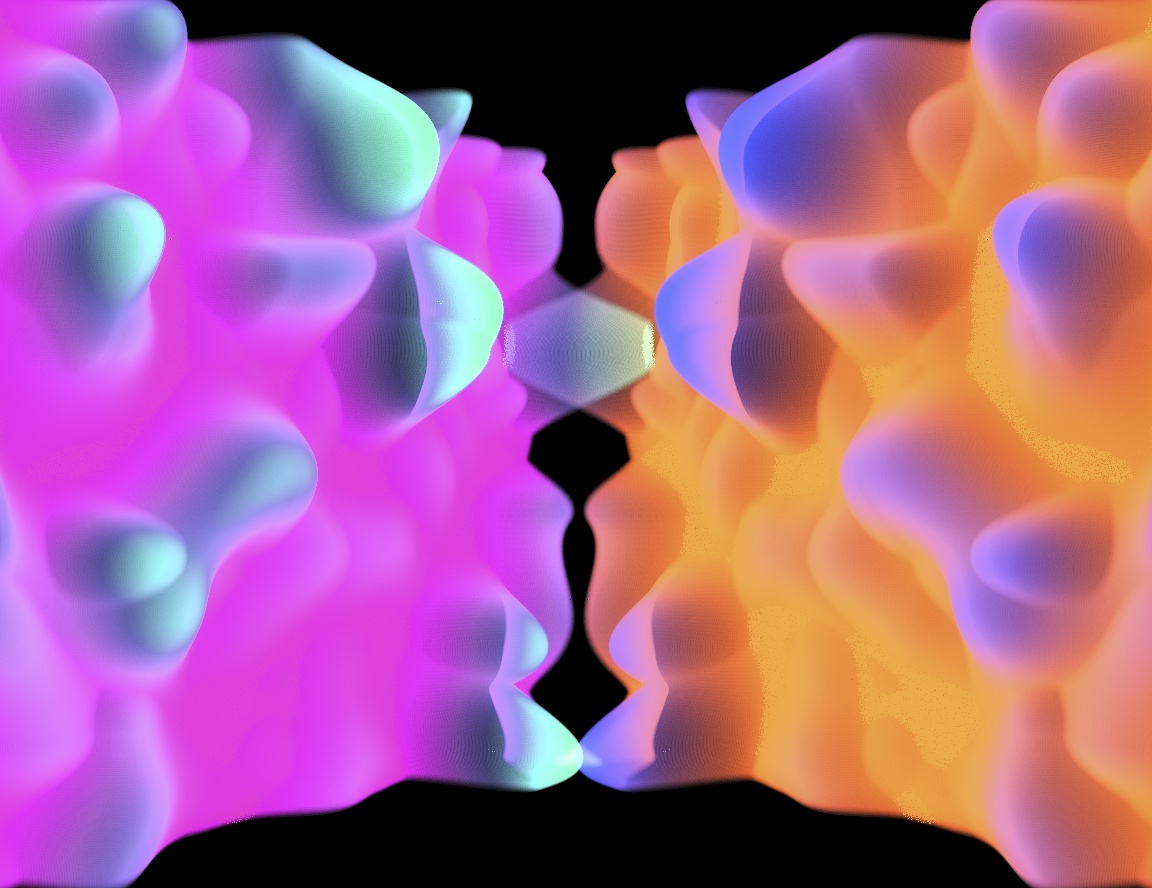
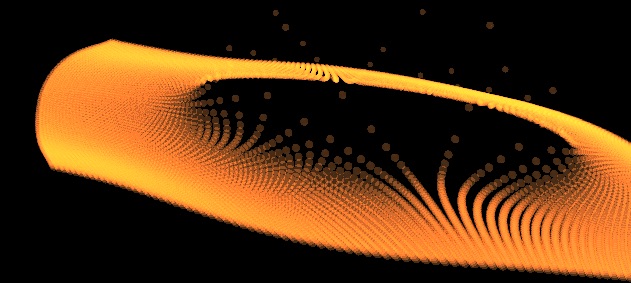
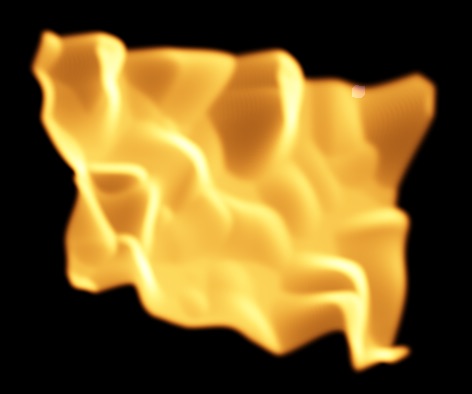
Here are some example's I've made of volume like rendering, done simply by duplicating a sphere 200 times inside itself smaller and smaller. The volume can be controlled by 3D noise shaders and gradients. And also by Proximal shader where by it shades based on distance to another object.
The following are controlled by shaders, 3D noise shaders and 3D gradients, you could also use Proximal shader to control the shading based on distance to another object.
Imagine being able to make them reflective/shiny sub surface scattered and render fast... that would require true volumetric rendering I think
Also I don't fancy trying to cast shadows or use GI on these things... it my explode and look bad to boot.
It's a bit of a tangent from the normal Vray/C4D use for sure. Someone could go to all sorts of lengths writing shaders to mask based on the volume of other objects, say in order to boolean a volume with another object, but it would boolean inside the shader volume no polygonal operation. And controls for feathering that and so on. 3D falloff/feather/blend controls... could go on and on. Just my fantasy here *drewls*
I wonder if a particle/fluid based volume rendering system like Mayas or Houdini's could be contorted to do this kind of thing, to have the same kind of controls or better. That may be the answer. It should be easier more practical to twist a real volume/fluid/particle solution into doing this, than to twist a 3D shader to do it, plus you'd then get the benefits of being able to do fluid like effects on it and have it interact with other objects in ways a 3D shader never could. I think the biggest problem with using fluid/volume renderer to do it is the resolution, they tend to be very veeeery slow at anything but the fuzziest resolution.
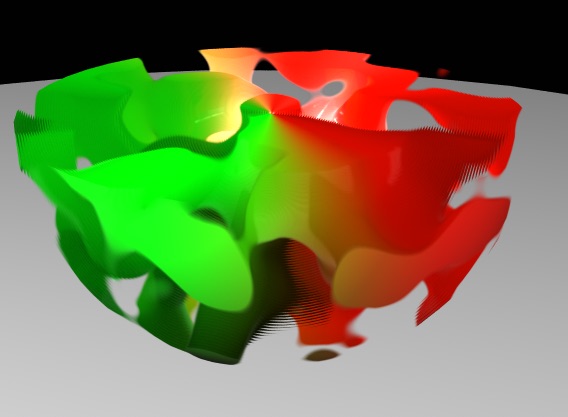
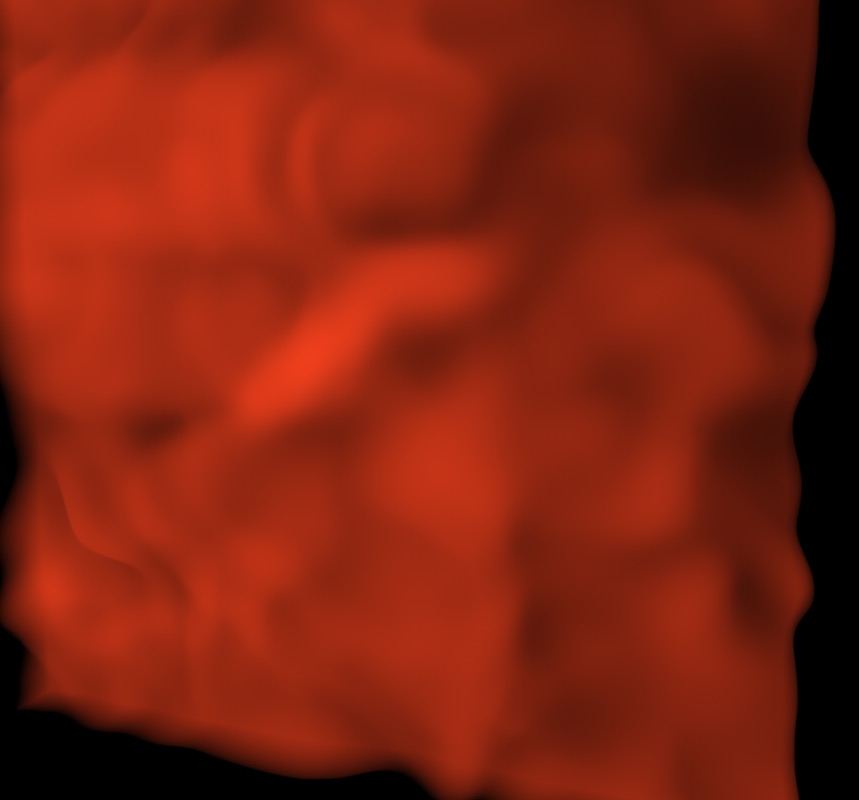
No Cubes here, just 200 Spheres + 3D Box Noise shader... honest
Made from light, the color becomes additive, though It's not quite right, the colors will flatten, they won't additive to white, which sucks.
Wait, no that's just me being stupid, you need the colors to be greater than 100% bright for that...
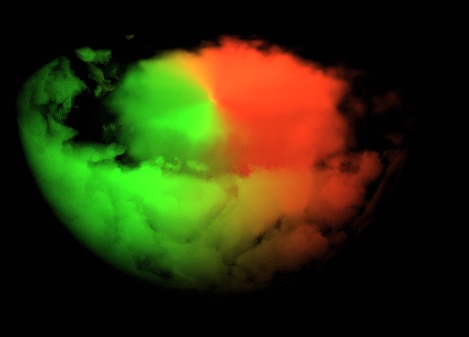
Tadda made from light take 2:
Cinemas gradients cannot go above 100% brightness, they are 8bit essentially, however you can multiply them up, by overlaying a super bright white layer and setting it to multiply.
Problem with this is, due to it being made from onion skins, the sides are not additive as they are not perpendicular to the camera, so where the edges should get brighter, they do not.
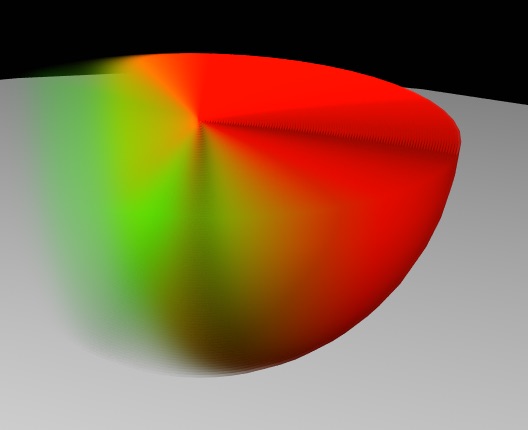
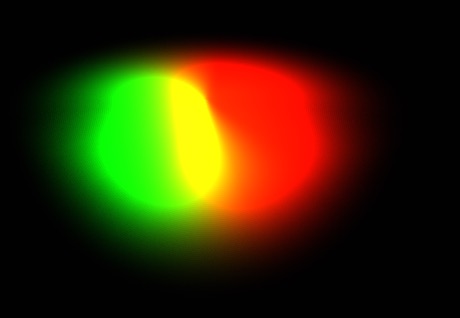
To solve this I tried rendering a few 100 planes stacked in front of each other facing the camera, and using a 3D spherical gradient to make it look like a hemisphere:

ooh, looks good, but won't work right if rendered from above:
In theory you could have the planes orinet to face the camera at all times, as the shape is entirely controlled by the shader.
Nice!
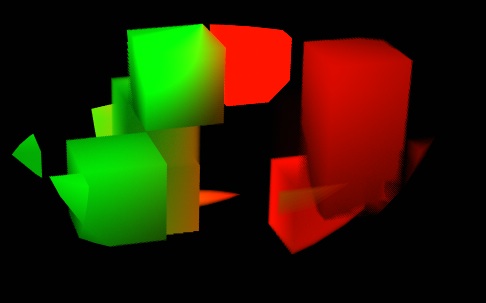
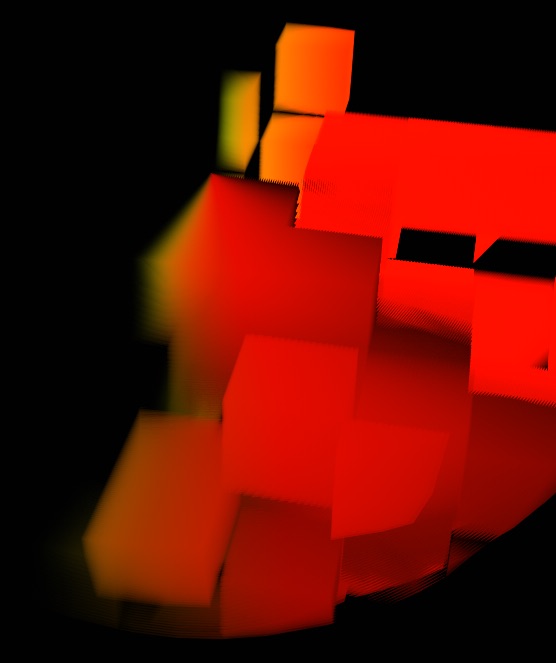
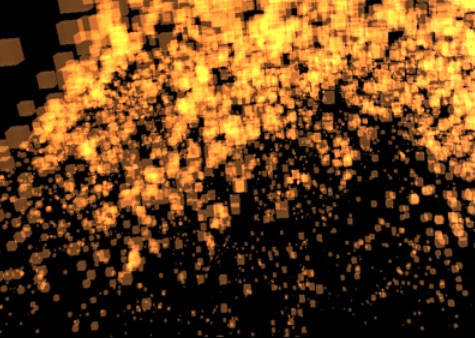
I also tried making it out of Cubes, but it was too slow and looked bad:
Here are some example's I've made of volume like rendering, done simply by duplicating a sphere 200 times inside itself smaller and smaller. The volume can be controlled by 3D noise shaders and gradients. And also by Proximal shader where by it shades based on distance to another object.
The following are controlled by shaders, 3D noise shaders and 3D gradients, you could also use Proximal shader to control the shading based on distance to another object.
Imagine being able to make them reflective/shiny sub surface scattered and render fast... that would require true volumetric rendering I think
Also I don't fancy trying to cast shadows or use GI on these things... it my explode and look bad to boot.
It's a bit of a tangent from the normal Vray/C4D use for sure. Someone could go to all sorts of lengths writing shaders to mask based on the volume of other objects, say in order to boolean a volume with another object, but it would boolean inside the shader volume no polygonal operation. And controls for feathering that and so on. 3D falloff/feather/blend controls... could go on and on. Just my fantasy here *drewls*
I wonder if a particle/fluid based volume rendering system like Mayas or Houdini's could be contorted to do this kind of thing, to have the same kind of controls or better. That may be the answer. It should be easier more practical to twist a real volume/fluid/particle solution into doing this, than to twist a 3D shader to do it, plus you'd then get the benefits of being able to do fluid like effects on it and have it interact with other objects in ways a 3D shader never could. I think the biggest problem with using fluid/volume renderer to do it is the resolution, they tend to be very veeeery slow at anything but the fuzziest resolution.
No Cubes here, just 200 Spheres + 3D Box Noise shader... honest
Made from light, the color becomes additive, though It's not quite right, the colors will flatten, they won't additive to white, which sucks.
Wait, no that's just me being stupid, you need the colors to be greater than 100% bright for that...
Tadda made from light take 2:
Cinemas gradients cannot go above 100% brightness, they are 8bit essentially, however you can multiply them up, by overlaying a super bright white layer and setting it to multiply.
Problem with this is, due to it being made from onion skins, the sides are not additive as they are not perpendicular to the camera, so where the edges should get brighter, they do not.
To solve this I tried rendering a few 100 planes stacked in front of each other facing the camera, and using a 3D spherical gradient to make it look like a hemisphere:
ooh, looks good, but won't work right if rendered from above:
In theory you could have the planes orinet to face the camera at all times, as the shape is entirely controlled by the shader.
Nice!
I also tried making it out of Cubes, but it was too slow and looked bad:
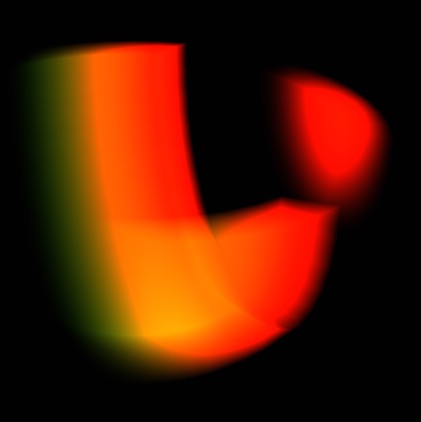
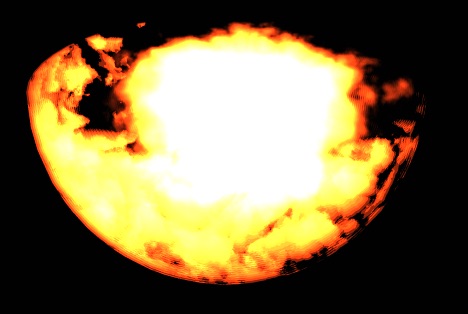
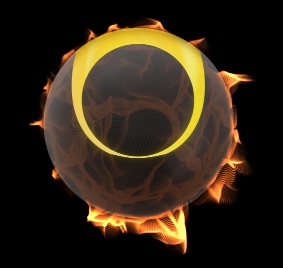
Ooh I'm a genius!
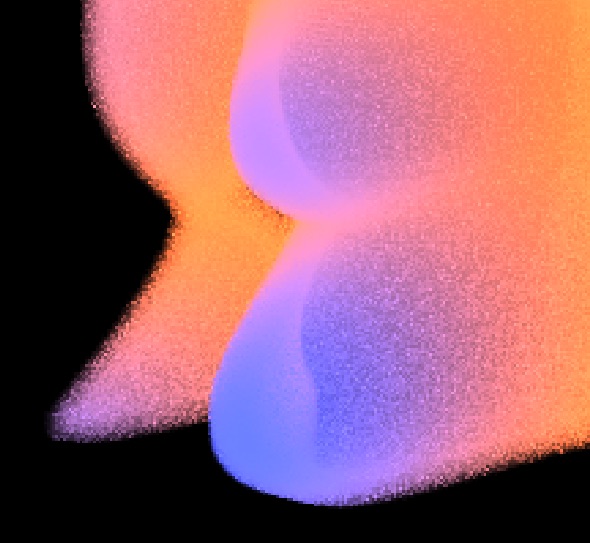
Finally figured a kinda hacky way of achieving a made of light volumetric look in 3D.. fast
Problem is It's not HUE additive, so where super bright RED would go from White at It's brightest down thru yellow and then end up at red... this is stuck in boring old 8bit land.. boo. I can kind of hack it by stretching the 8bit image across a 32bit range, then it will hue shift as you'd expect.
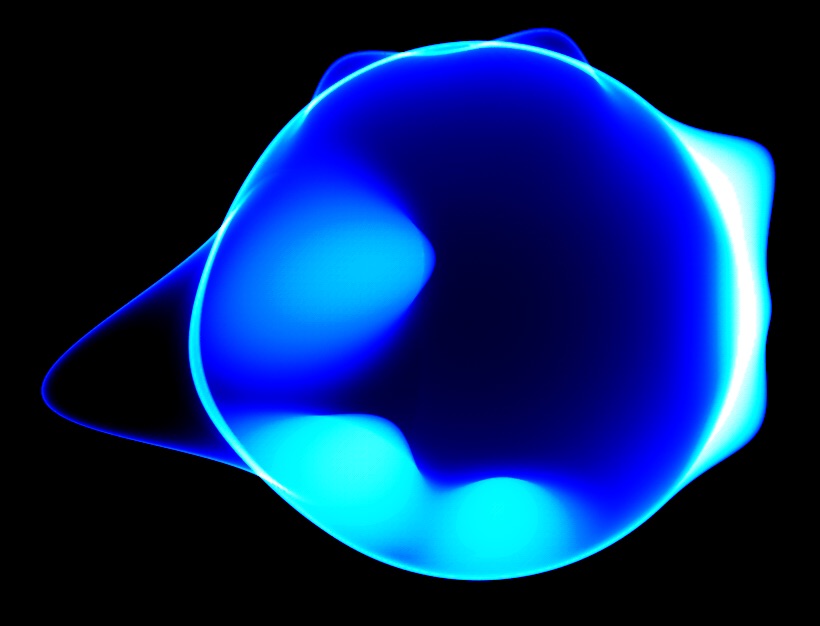
Done using Vrays Volume Fog:

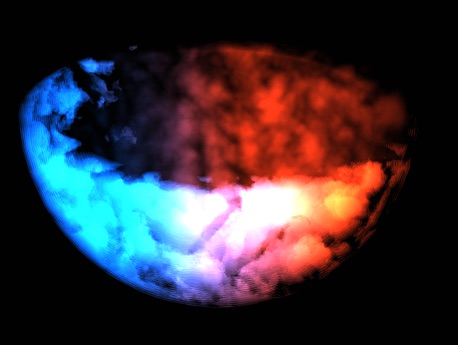
Hue shift from white to cyan to blue achieved by stretching the 8 bit result into 32bit... basically by adjusting It's gamma/exposure/offset and image saturation:
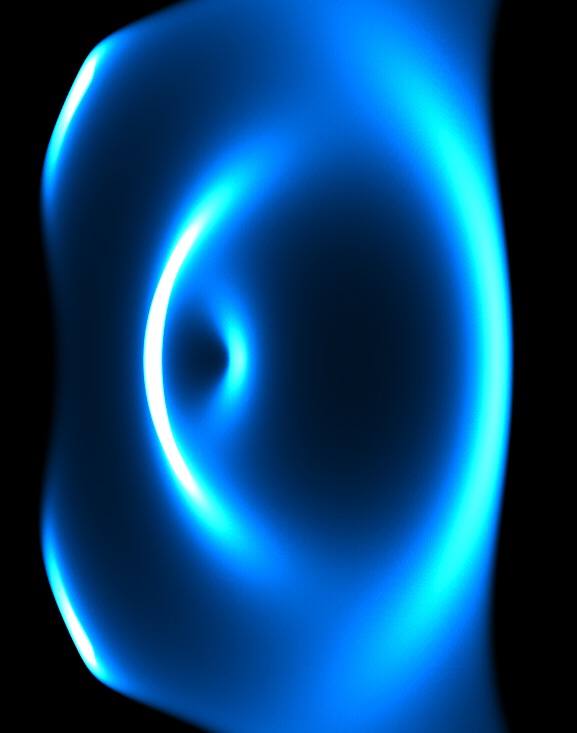
This one looks especially weird as I forgot to decrease the transparency cutoff value, so it had a weird folding over effect
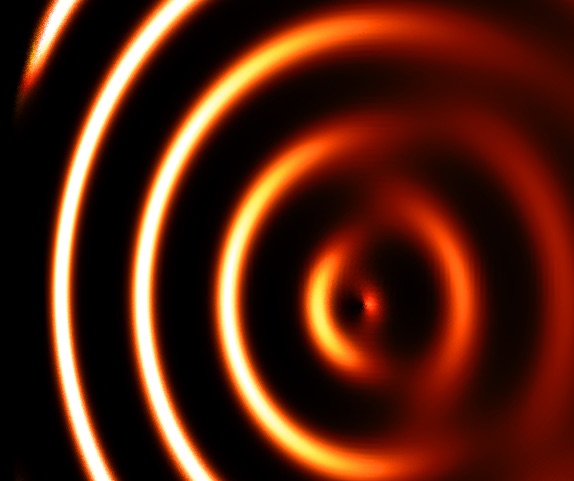

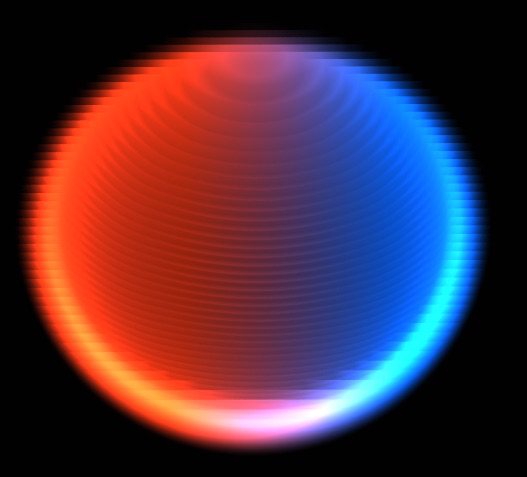
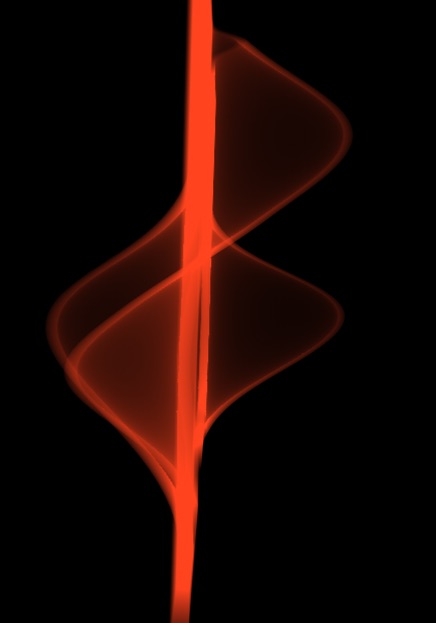
Inverting the red image, makes it look like It's made from light.
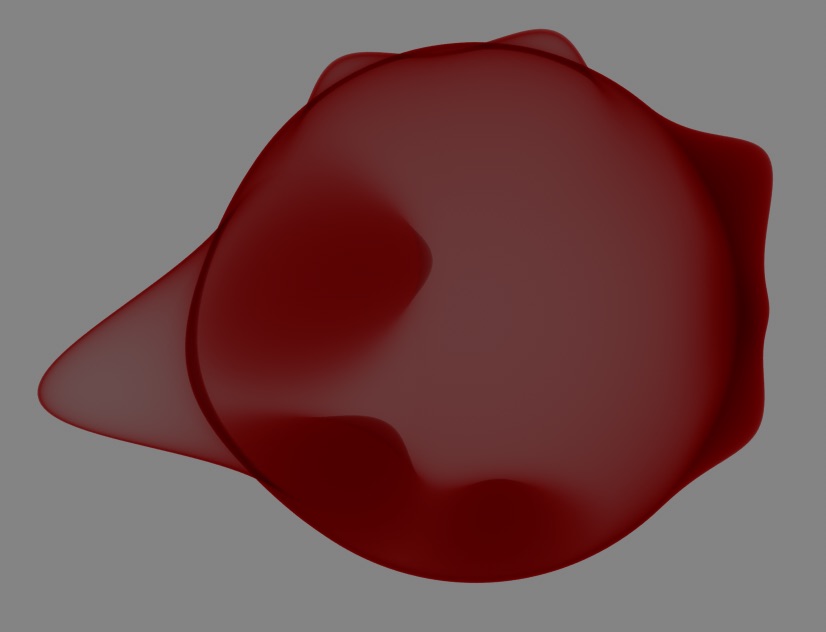
Ball with various thickness changes in places.
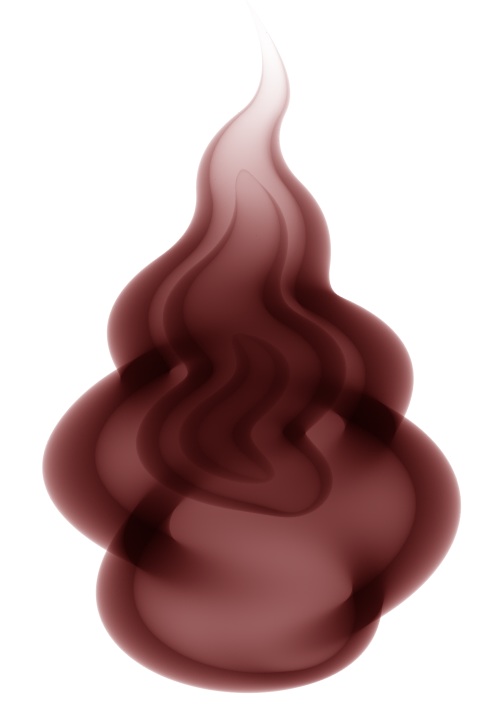
And with some photoshop modification to simulate it being made from light
Finally figured a kinda hacky way of achieving a made of light volumetric look in 3D.. fast
Problem is It's not HUE additive, so where super bright RED would go from White at It's brightest down thru yellow and then end up at red... this is stuck in boring old 8bit land.. boo. I can kind of hack it by stretching the 8bit image across a 32bit range, then it will hue shift as you'd expect.
Done using Vrays Volume Fog:
Hue shift from white to cyan to blue achieved by stretching the 8 bit result into 32bit... basically by adjusting It's gamma/exposure/offset and image saturation:
This one looks especially weird as I forgot to decrease the transparency cutoff value, so it had a weird folding over effect
Inverting the red image, makes it look like It's made from light.
Ball with various thickness changes in places.
And with some photoshop modification to simulate it being made from light
Has all kinds of free brushes you can download:
Link: Qbrushes.com

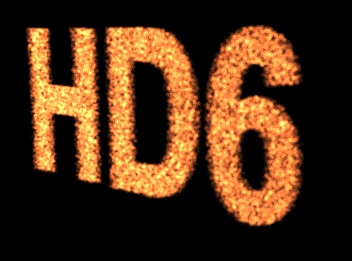
So you too can follow everyone else in style and substance for that not YET dated 21st century style
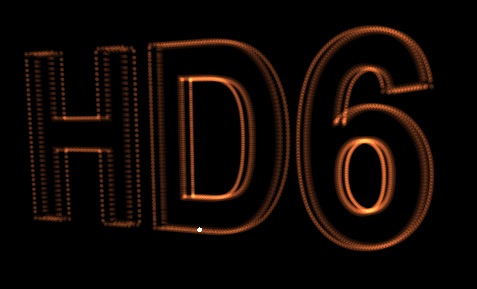
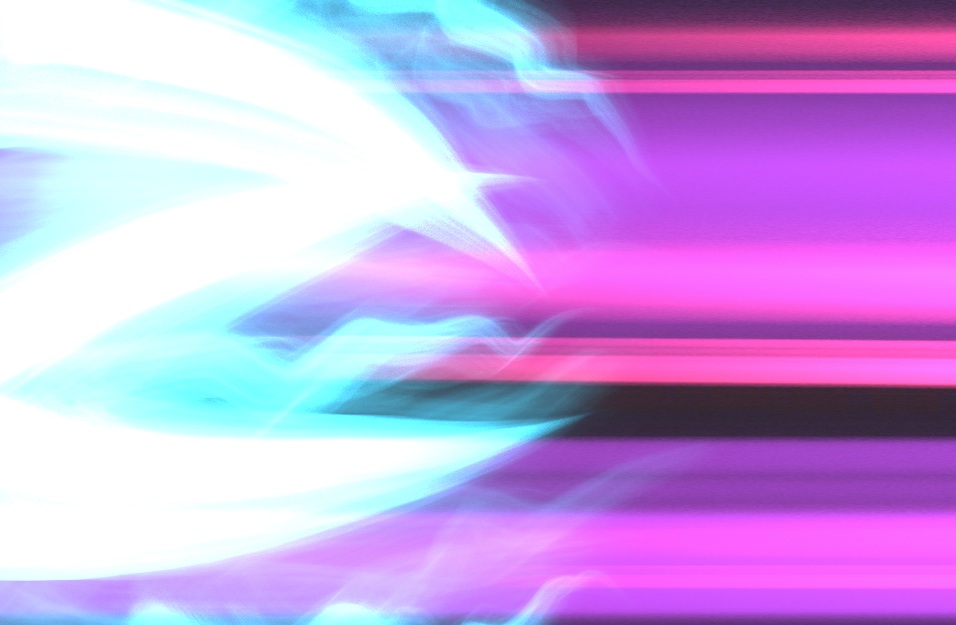
You too then can paint with light!
Below was achieved using special magical powers... well, not really, go learn about 32bit, then go play with 32bit in Photoshop and think in terms of light and wavelengths instead of that old fangled 256 levels of RGB your brain has been likely used to for so long... so 19th century.
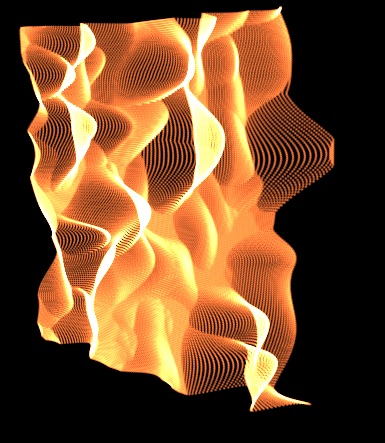
Been waiting for this, Trapcode Form plugin for AfterEffects
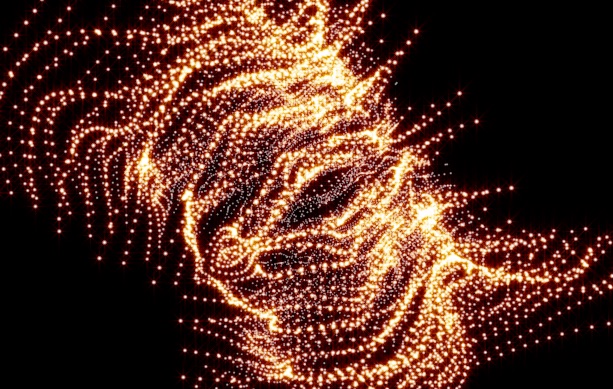
I knocked up the above image in a few minutes playing with it, very nice, but I have a feeling it will produce images that were obviously done using the plugin, you'll soon have a trapcode form look.
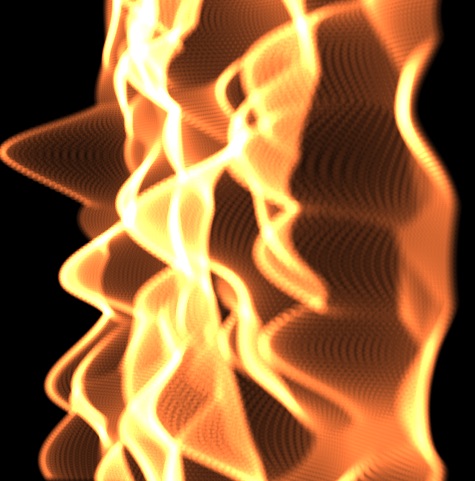
And some more of my quick tests:
Very fire like.. yet not fire

Just wondering if I can achieve similar things within Cinema 4D, which would then have much more power, but be slower to render
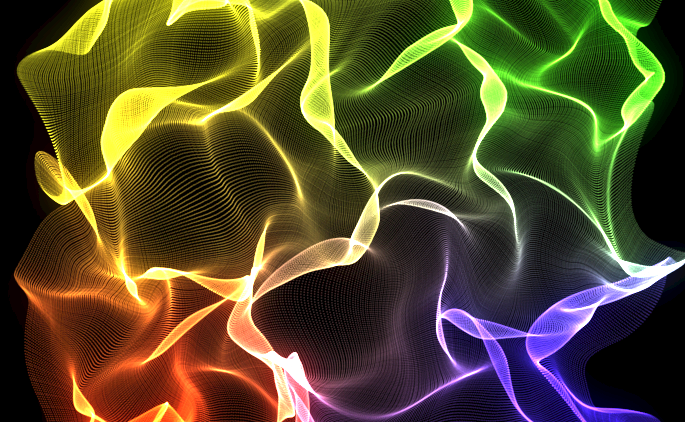
Done with Trapcode Form
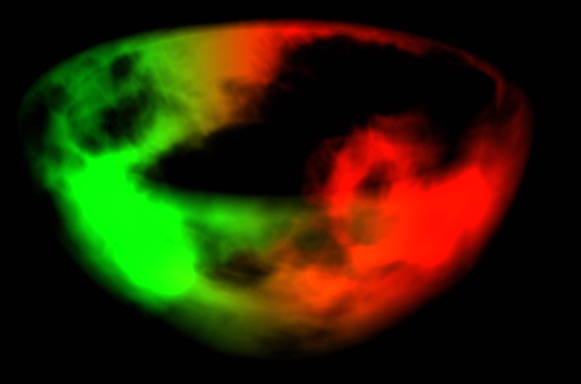
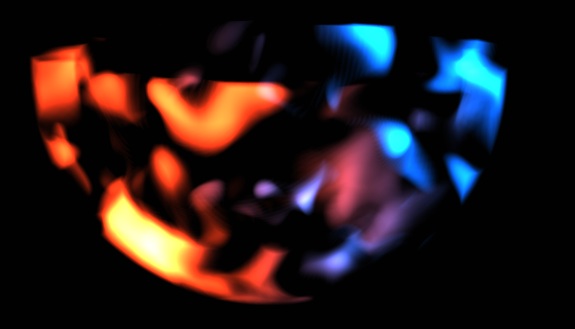
The following are all from Cinema4D:
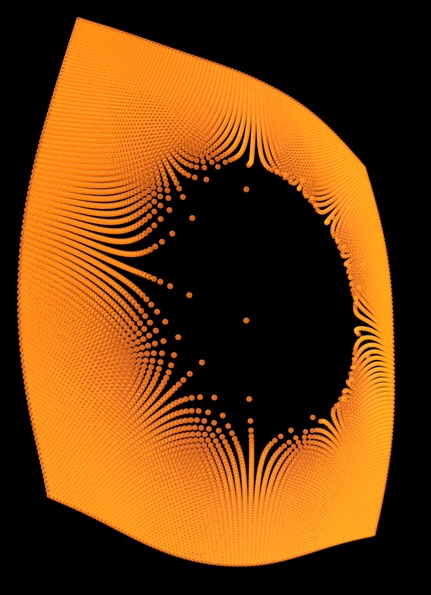
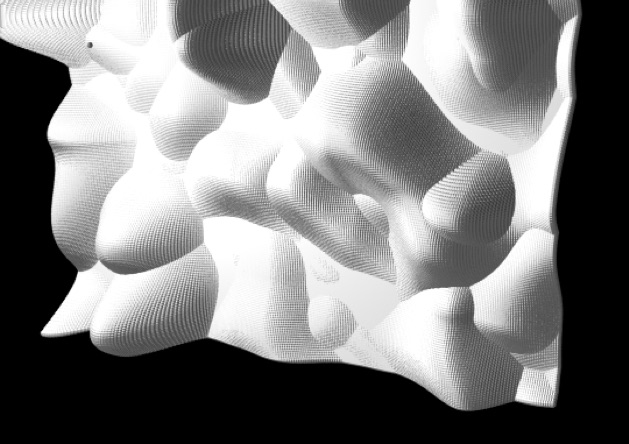
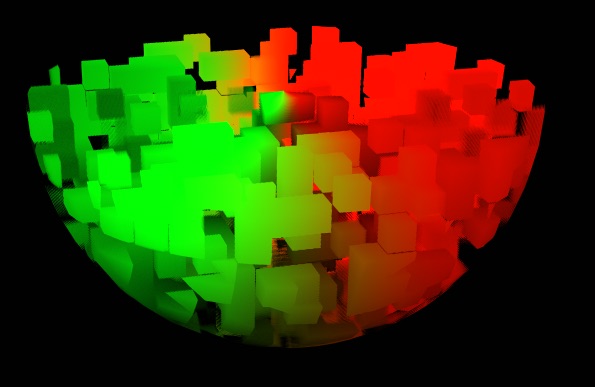
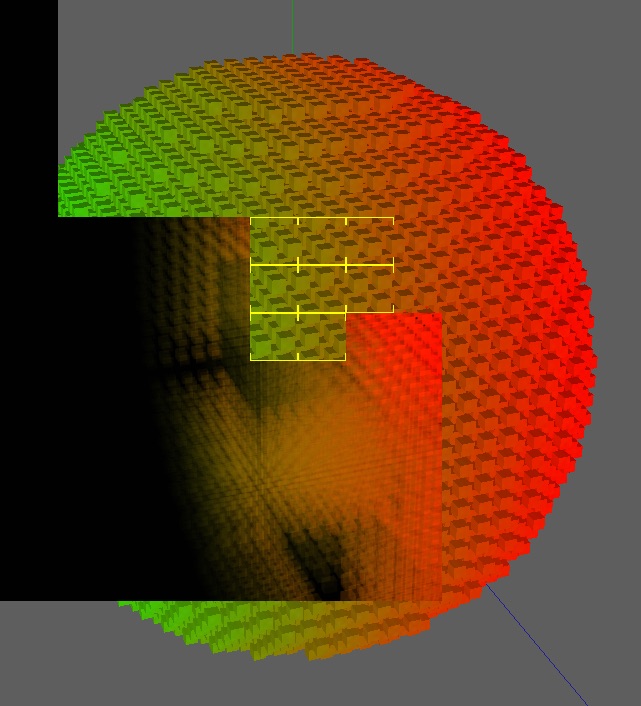
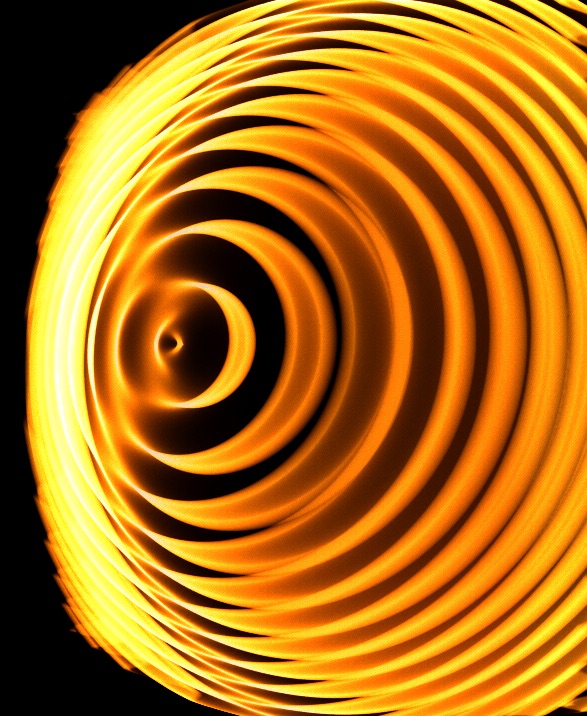
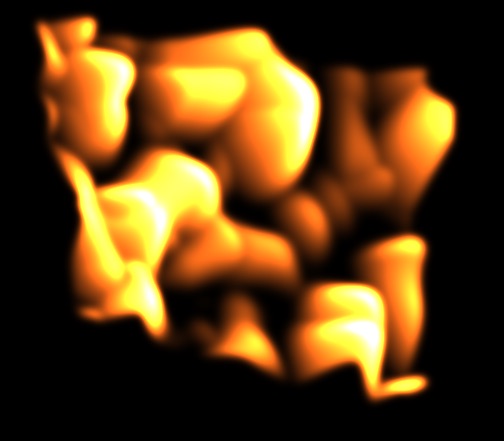
The same principles apply for the accumulation of HUE, shifting from red thru orange to yellow depending on the density
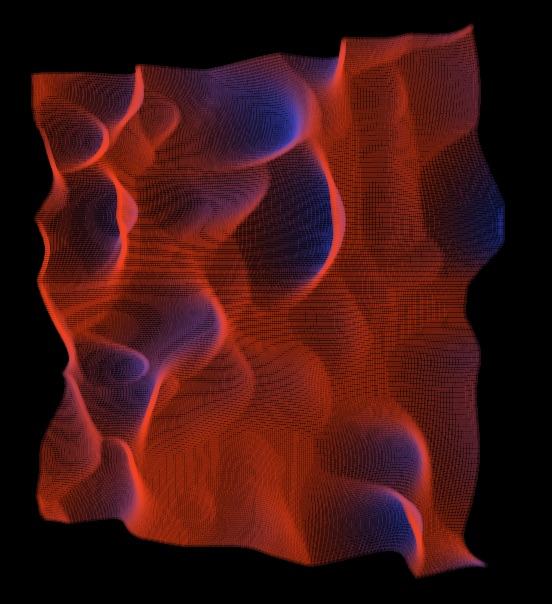
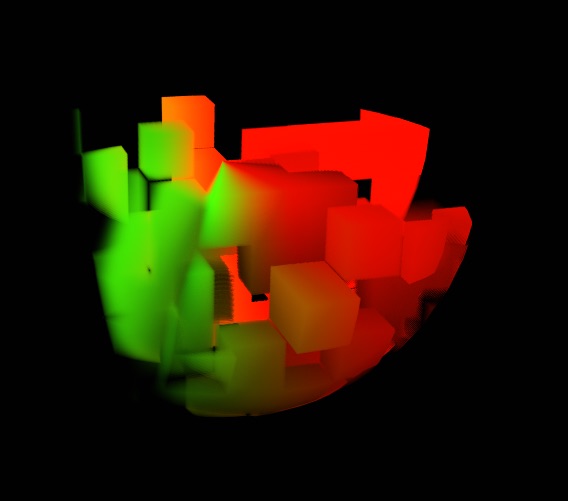
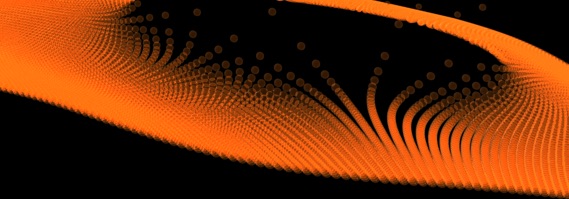
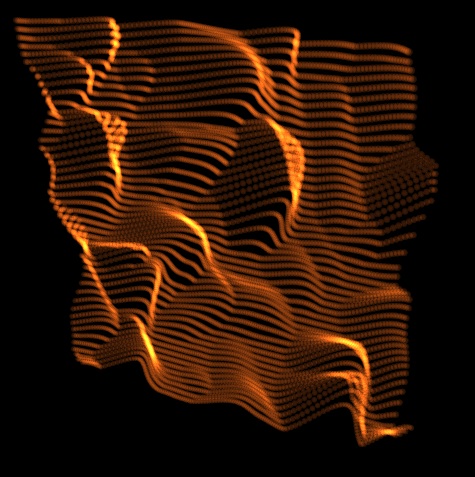
A bit coarse. Done with lots of transparent cubes. Deformed by a noise shader.
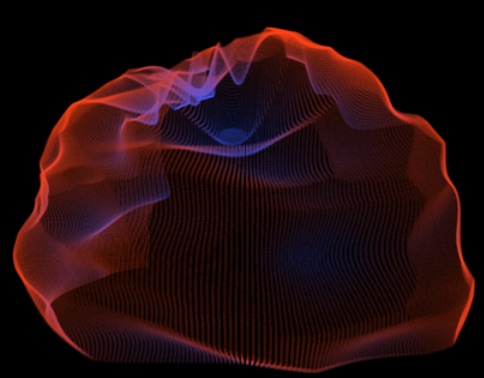
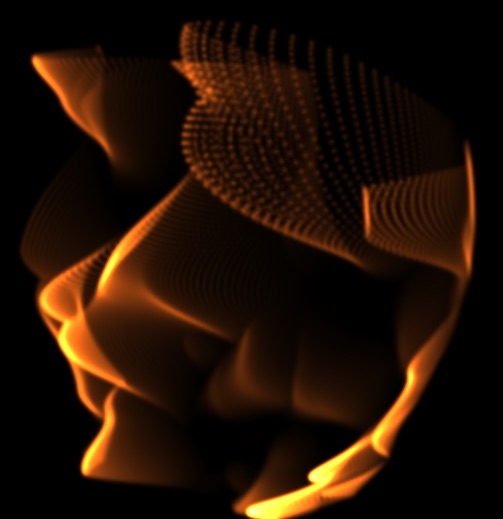
Same as above but further deformed by a spherical deformer.

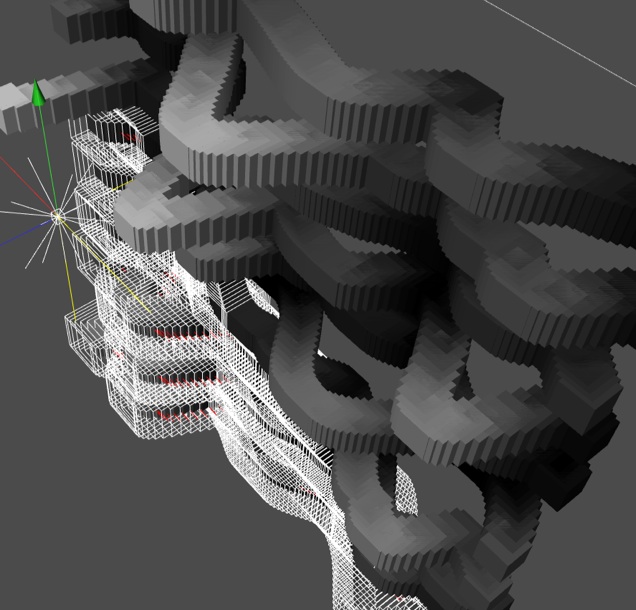
Problem is, that seems to be the hard coded maximum number of objects you can clone.... shit!
Max matrix size is 50,000...... lame! I need millions!
So uhm.. that essentially makes it useless
I tried using plane to place objects on and sure enough I can place more than 50,000 clones but it crashed
:-P
also that's then limited to only polygonal objects and cannot generate thinking particles (for no good reason)
So some kind of internal problem going on there, 50,000 polygons easy peasy, 50,000 1 polygon objects.... forget it
Had an epiphany! use visiible lights instead should be super fast...
You can make a light emit no light and cast no shadow, yet still be made visible. Which basically just draws a circular gradient around each light:
Loooks ace, sadly took 13 minutes to render :-S so much for being fast, I guess It's calculating it volumetrically
which seems very expensive way of basically putting a gradient round a light.
So the only way I can go above 50,000 involves using lights and they happen to be by far the slowest method,
which is not better if the render never actually finishes.
I've tried using Hair on splines, but you can't effect the color via mograph effectors.. why not maxon!?
I've tried cellrendering/sketch and toon
Less lights = 33 seconds
2 Minutes 24
18 Minutes
2 Minutes! that's faster!
2 Minutes
1 Minute using
cluster.. not bad
:-D
Sadly this method doesn't seem to work with deformers because it uses thinking particles
and there no way to change the color with a mograph effector... why not Maxon!!
download my example file from:
Link: helios.mine.nu --- PryoFrax.zip
This uses pyrocluster so It's nice and fast and smooth.

25 Minute Render, no idea WHY it took that long and after all that it was incorrect, It's not meant to be stripey
So frustrating, this could be such a powerful technique if it wasn't so slow.
You could use this for all sorts, generating volumetric trails from moving objects for example.
The future is volumetric baby! voxels rule! polygons suck! sub-poly-displacement can only take you so far.
36 Minutes 90,000 particles rendered with pyrocluster
I wrote my own Xpresso in order to get past the 50,000 limit of mographs matrix object.
Trying to render this many items using visible lights well... It's painfull, it just runs out of RAM almost immediately. And I\'m not short on RAM either.
8 Minutes 44,000 Particles, fairly uninteresting result. *thinks*